Have you ever wanted some simple rules you can use to take amazing portraits? If so, here are my top 20 tips for improving your portrait photography skills. These simple rules can be applied to individual or family portrait photography.
1. Care about your subject
Portrait tip number one. Care about your subject, care about how you represent them at this particular point in their life and you won’t go far wrong. You don’t have to completely flatter them – just be considerate and try to create an authentic portrait.

2. Position the angle of the shoulders
Turning to composition – think about the angle of the shoulders. If one is turned towards the camera this can create a pleasing leading line into the photograph towards the subject’s face. Square-on can work too, but is likely to feel flatter and more confrontational – especially if the face is dead-on to the camera as well.
3. Choose the colours in your photo
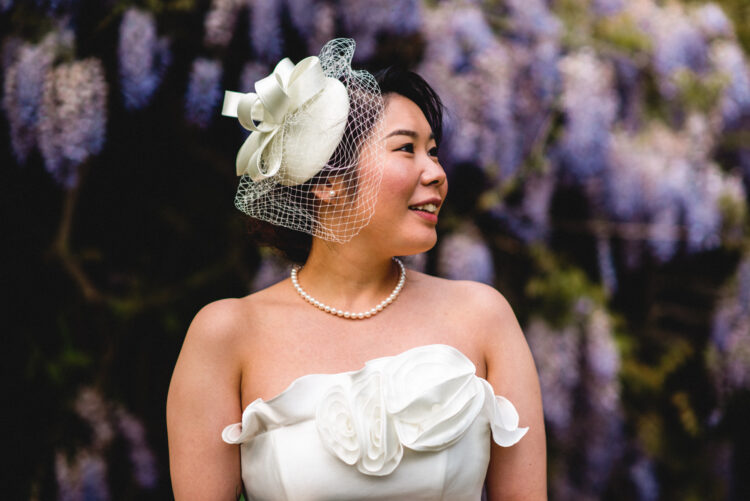
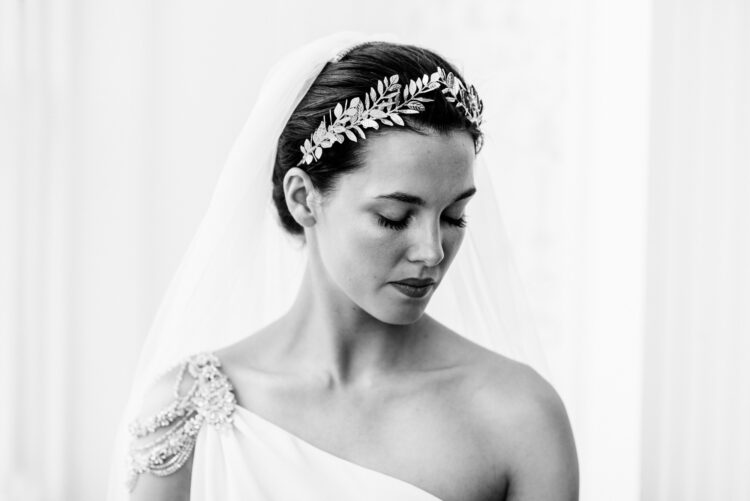
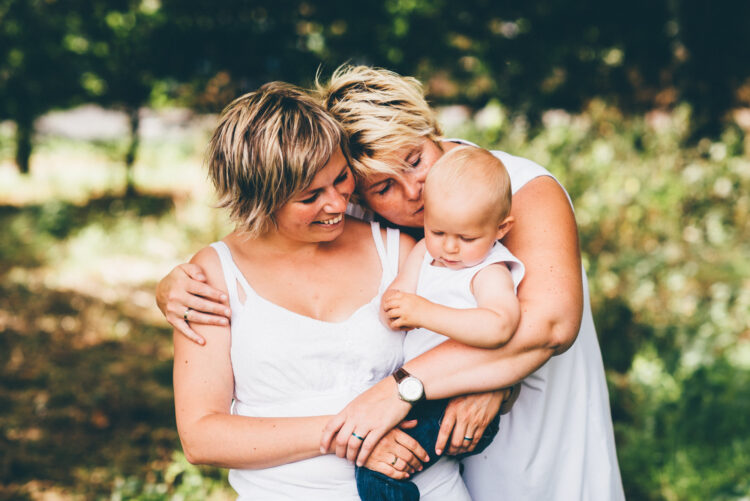
Next you might consider the colour palate of your photo. Too many colours can be distracting and some colours can clash and feel unharmonious. Colours can have different connotations and spark different feelings. Talk with the subject and suggest they wear clothes with colours that you feel work. I find that being neutral, white works great against natural greenery and in so many other scenes. Colour theory is something you can really immerse yourself in and I’ve put a link to a couple of related books in the description. Of course, the other side of this coin is choosing a more classic black and white look.

4. Put the sun behind your subject
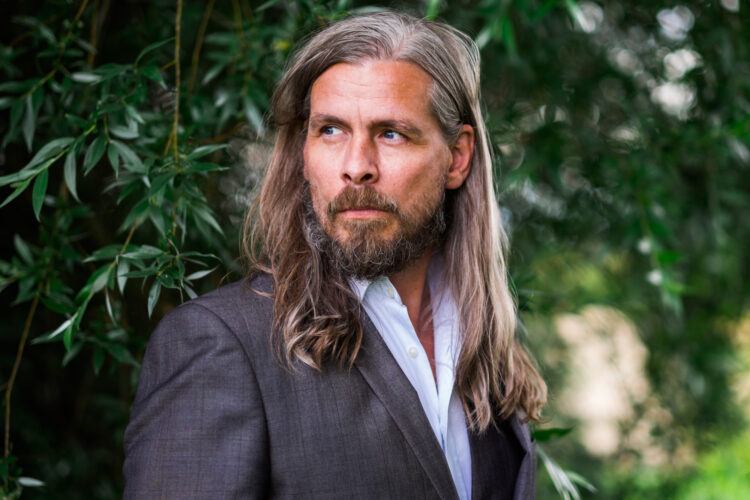
If I’m outside I mostly shoot with the sun behind my subject. This avoids squinting in the eyes and harsh shadows on the face. The sun can also create a nice rim light when it’s behind them, outlining the subject – separating them from the background such as some trees.
5. Find natural reflectors
Natural reflectors are simply an area where the sunlight is falling and bouncing back softer. Look out for white walls, light stone floorings or gravel on the ground. These will all reflect a softer light back to your subject’s face than the sun itself. You can have the harsh sunlight behind them creating a backlight and the light filling their face as it reflects off a wall.
6. Use soft golden hour sun
During golden hour when the sun is very low in the sky you might try having your subject face the soft sunlight. You won’t get those harsh shadows that we try to avoid in the afternoon – plus of course they’ll be a lovely orange tint to the light.
7. Choose the best focal length
Consider your focal length. Personally, for portraits I use either 35mm, 50mm or 85mm equivalent lenses. Wide can create a sense of intimacy, but also an unnatural looking distortion if used too close. More telephoto lenses lose that intimacy, but help you select a tighter background and more easily create a shallow depth of field.
8. Consider the subject’s eyes
A subject’s eyes are so important to a portrait. I think as a golden rule the eyes should be in focus above all else. If the subject is turned to the side and you have a shallow depth of field, then the closest eye should be given priority as that is the eye that will be seen first. There are other things to consider with eyes – try them open or closed, looking at the camera or away. As always – try these variations and consider how they change the feeling of the picture.
9. Consider the subject’s neckline
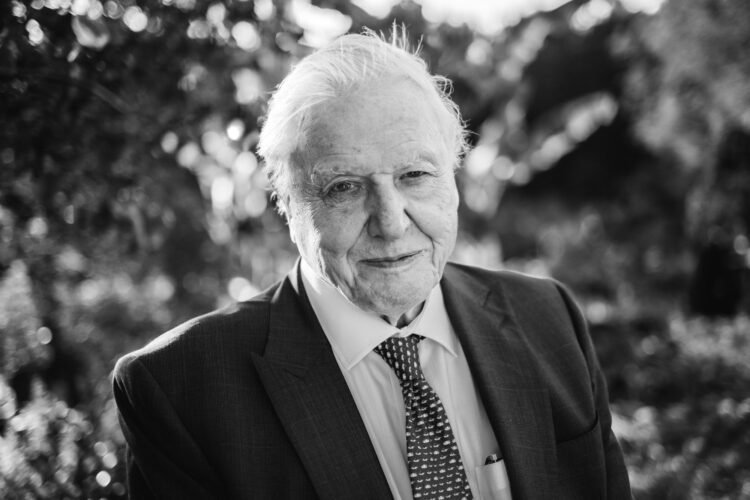
I find the neckline of the shirt or top important in the composition and flow of a headshot picture. At one extreme someone wearing a Steve Jobs style tight polo neck can remove all leading lines from that area and almost seem like a suspended head. But open a button or two of a shirt and the neckline leads up to the face and can balance the picture nicely.
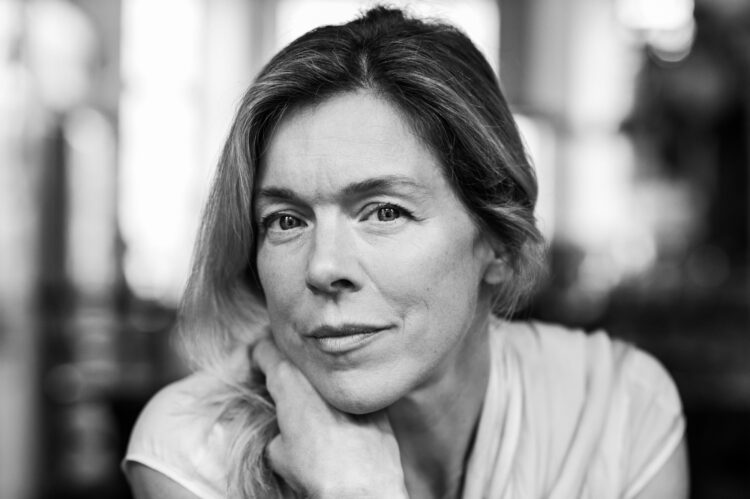
10. Use soft window light
Try to experiment with window light. Windows are a gift to photographers and the light is often soft and flattering. If you have a large window you might be able to stand between the window and the subject without blocking the light. Light falls off quite quickly though, so you’ll need your subject to be close. In this situation I use a 35mm lens, but if I place them by the window and move back I’ll use a longer lens like the 50 or 85.
11. The angle of the subject’s nose
This is a fantastic tip I learned from the photographer Scott Robert Lim. He said that when the subject’s face is turned slightly to the side their nose should not break the line of the face. If they’re fully turned to the side that’s OK, but just breaking that line slightly looks unintentional and ruins that smooth outline along the cheek.
12. Find spontaneous moments
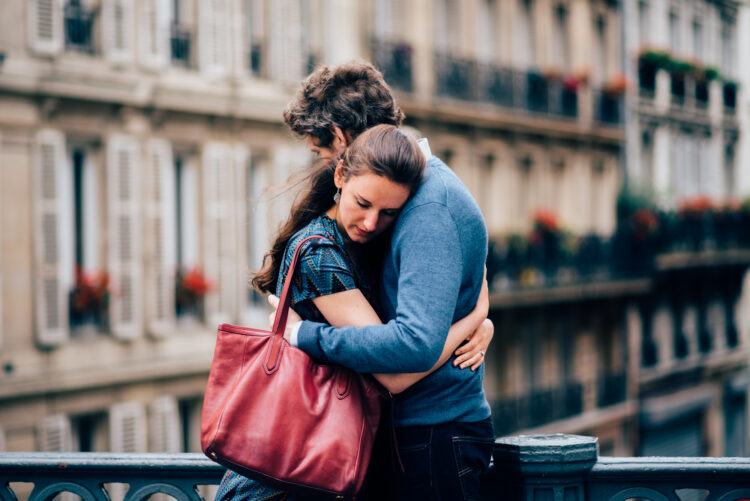
Candid isn’t just for street photography. Just because you’re in a studio or have a planned photo session, you can still look for spontaneous, candid moments the give your pictures a bit of life and personality.
13. Should the subject smile?
One thing even the most inexperienced photographers think of is whether the subject is smiling or not. Both can work – I don’t look down on smiles, but you will get a different feeling picture. If you do think you want your subject to smile – consider focusing on getting just a happy expression – it might just be a subtle glint in the eyes that is needed to bring some warmth to the portrait. There’s little worse than an out of place, false smile. So work on interacting with people and build a rapport. Also, people rarely look good while they are laughing, but immediately afterwards there is often a warmth and honesty to their expression that’s great to capture.

14. Are you taking an environmental portrait?
Consider whether you want to take an environmental portrait? Think – how does the background and their surroundings interact with the subject. Does the setting elevate the portrait by saying something valuable about the person or create an added point of interest.
15. Lighting for portrait photos
Next up, lighting. OK, It is daft that this gets just a few sentences amongst all of these other tips. It’s probably an exaggeration to say that lighting is everything – but not by too much. Starting today, simply be aware of light – everywhere, all the time. Without going crazy of course, if that’s possible. Notice its colour, its softness, its direction. Watch the light on people’s faces in your day-to-day life and the shadows too. Only when you become aware of something can you choose to control it. However, to give a few pointers as to what I look for in my main portrait light – I simply want a light that’s soft and at a slight angle to the subject’s face. This creates a sense of shape and dimension.

16. How much of the body to include in a portrait
Consider how much of the body to include? Full, three-quarters or just a headshot? Simply try it out and shoot all of these during a session. Do be aware of cropping the body at awkward points. Never cut hands off at the wrist, nor feet off at the ankles. Essentially, avoid cropping on or close to joints.
17. Your subject’s hands
If your portrait includes the person’s hands, do pay attention to these. Hand gestures are like facial expressions, they can communicate so much. If hands seem awkwardly idle they can make the portrait look awkward too. Simply give the hands something to do – even if it’s just putting them in a pocket. At weddings I swear that flowers became a tradition just to give brides’ hands something to do while having photos taken.
18. Makeup and styling
Hair, makeup and styling. None of these are my forte, but they contribute so much to a picture. I am lucky that for most of my wedding photography or London wedding videography this is something that the bride has carefully thought about and arranged before the day. And similarly the groom is likely to have made sure he had a haircut in the preceding calendar month. So we’re all set. So if you want to elevate your portraits consider involving a talented hair and makeup artist.
19. skin tones for portraits
When colour grading and editing your pictures, be extremely mindful of people’s skin tones. A slightly weird looking sky is forgivable and I love playing with the different colours in a scene, but if you make someone’s skin look odd, the human mind is very sensitive and unforgiving to that.
20. High or low key portraits?
Think about the relationship between the exposure of the subject and the exposure of the background. This is known as high or low key lighting. I am personally attracted to quite low key lighting where the background is darker than the subject. Our eyes are directed to the light areas of a picture first and I prefer that to be my subject. A darker background doesn’t compete as much for our attention and the subject stands out more.
That’s all for now! I am making more of these photography and videography guides. Subscribe to my YouTube Channel for more information.